Learning how to clean dryer vents is one of the most important home maintenance tasks you can master. Here's what you need to know:
Essential Steps to Clean Your Dryer Vent:
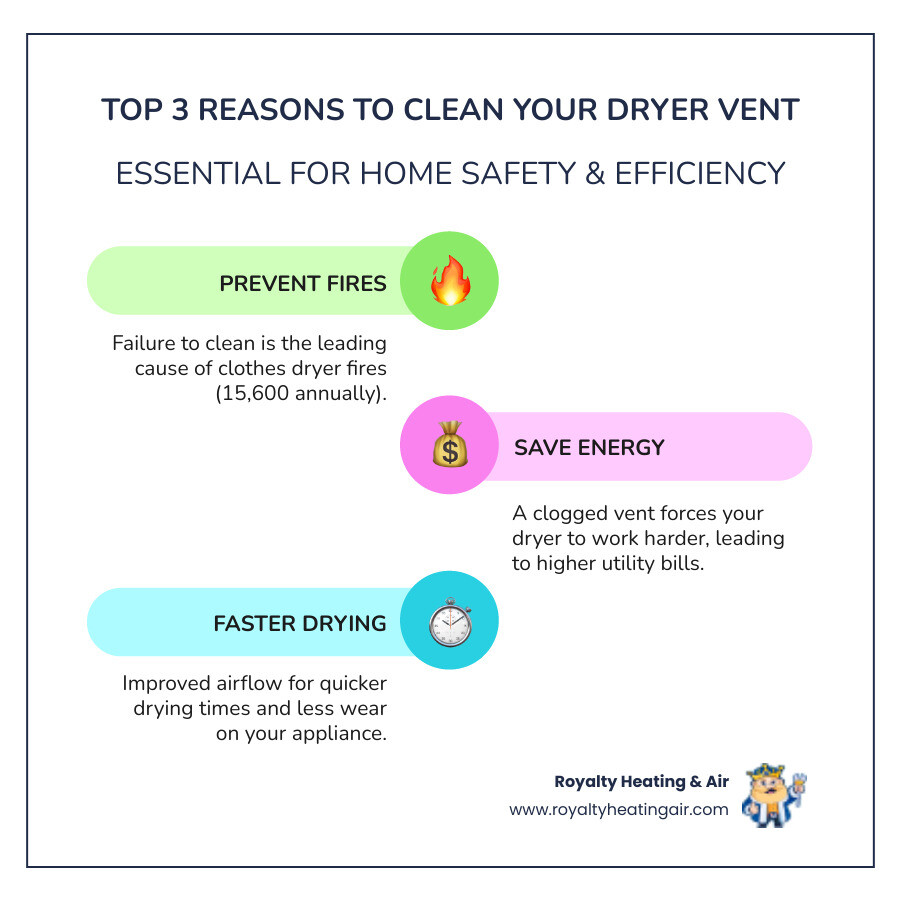
Every year, thousands of house fires start because homeowners skip this simple maintenance task. According to industry data, failure to clean is the leading cause of clothes dryer fires in homes - accounting for about 15,600 structure fires annually.
But it's not just about safety. A clogged dryer vent forces your appliance to work twice as hard, leading to:
The good news? This is a straightforward DIY project that takes less than an hour and can save you hundreds of dollars in energy costs while protecting your family.
Clean dryer vents terms to learn:
Your dryer has a way of telling you when something's wrong – you just need to know what to listen for. Think of these warning signs as your appliance's cry for help before a small problem becomes a dangerous situation.
The most obvious red flag is when your clothes are taking forever to dry. If you're running that same load of towels through two or three cycles, or your jeans are still damp after an hour, your dryer is working overtime because it can't breathe properly. Clean dryer vents allow hot, moist air to escape efficiently – when they're clogged, that air has nowhere to go.
A burning smell during drying cycles should stop you in your tracks. This isn't just unpleasant – it's genuinely dangerous. That acrid odor usually means lint trapped in your vent is getting so hot it's starting to scorch. Turn off your dryer immediately if you notice this smell.
Your dryer shouldn't feel like a space heater when you touch it. If the outside of your machine is uncomfortably hot, or your clothes come out practically steaming, heat isn't escaping through the vent like it should. Instead, it's building up inside your dryer and laundry room, putting extra strain on your appliance.
Sometimes the signs are visual. You might notice excessive lint clinging to your freshly dried clothes even though you cleaned the lint trap. Or you'll spot actual clumps of lint accumulating behind your dryer or around the area where it connects to the wall.
Take a quick walk outside to check your exterior vent flap. When your dryer is running, that little flap should be opening and closing as air flows out. If it's stuck shut or barely moving, or if you can't feel much airflow when you put your hand near it, you've got a blockage somewhere in the system.
Your laundry room might also feel more humid and stuffy than usual. When moist air can't escape through a clogged vent, it hangs around, making the whole area feel like a sauna.
Don't brush off these warning signs – they're your early alert system for preventing dryer fires and expensive repairs. For more detailed maintenance strategies that can keep your family safe, check out our comprehensive guide on preventing dryer fires through proper maintenance.
Ready to tackle this important home maintenance task? Cleaning dryer vents yourself is easier than you might think, and it's one of the most rewarding DIY projects you can do. Not only will you save money, but you'll also gain peace of mind knowing your family is safer. According to the U.S. Fire Administration, failure to clean is a leading cause of dryer fires, so let's roll up our sleeves and get that lint out of there!
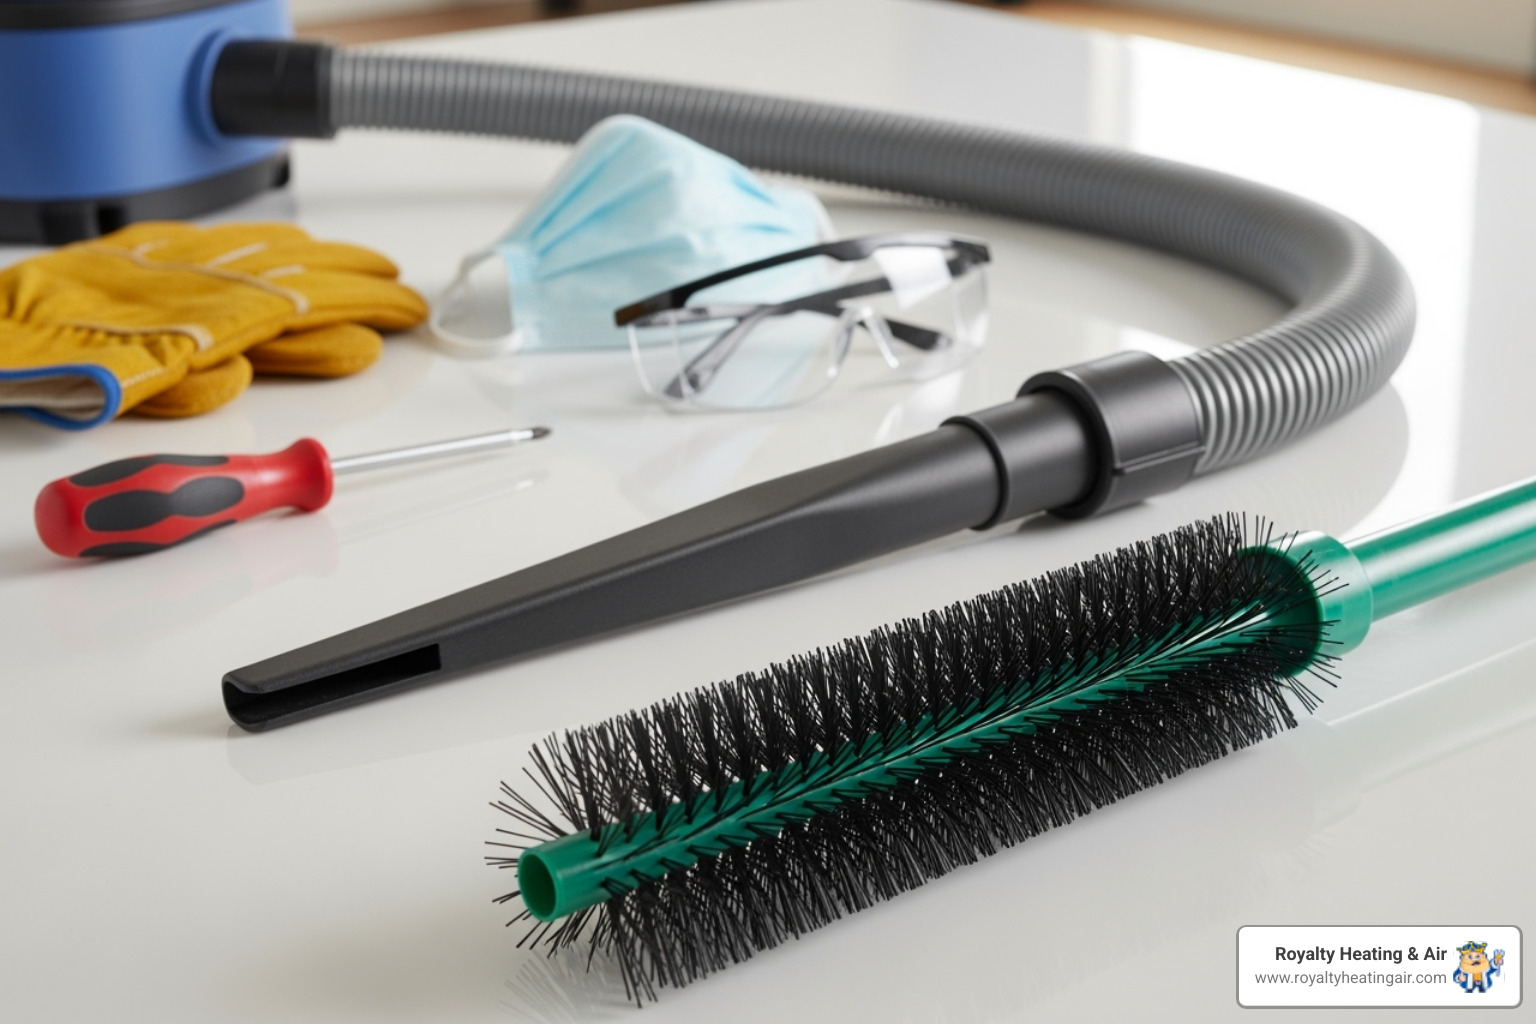
Before we dive in, let's make sure you have everything you need for a safe and successful cleaning. Think of this as your pre-flight checklist - getting these details right makes all the difference.
You'll need a vacuum with hose attachments (a shop vac works even better), a dryer vent brush kit with flexible rods, a screwdriver for loosening clamps, protective gloves, a dust mask to keep you comfortable, and a good flashlight for seeing into dark spaces. Having everything ready before you start makes the whole process smoother.
Now for the safety essentials - and this part is absolutely non-negotiable. Unplug your dryer from the wall outlet first. If you have a gas dryer, you'll also need to shut off the gas supply by turning the valve behind the appliance to the "off" position. This might seem overly cautious, but when it comes to gas appliances, it's always better to be extra safe.
Let's start with the area you know best - the lint trap. Even if you're religious about cleaning it after every load (and we hope you are!), there's more work to be done here.
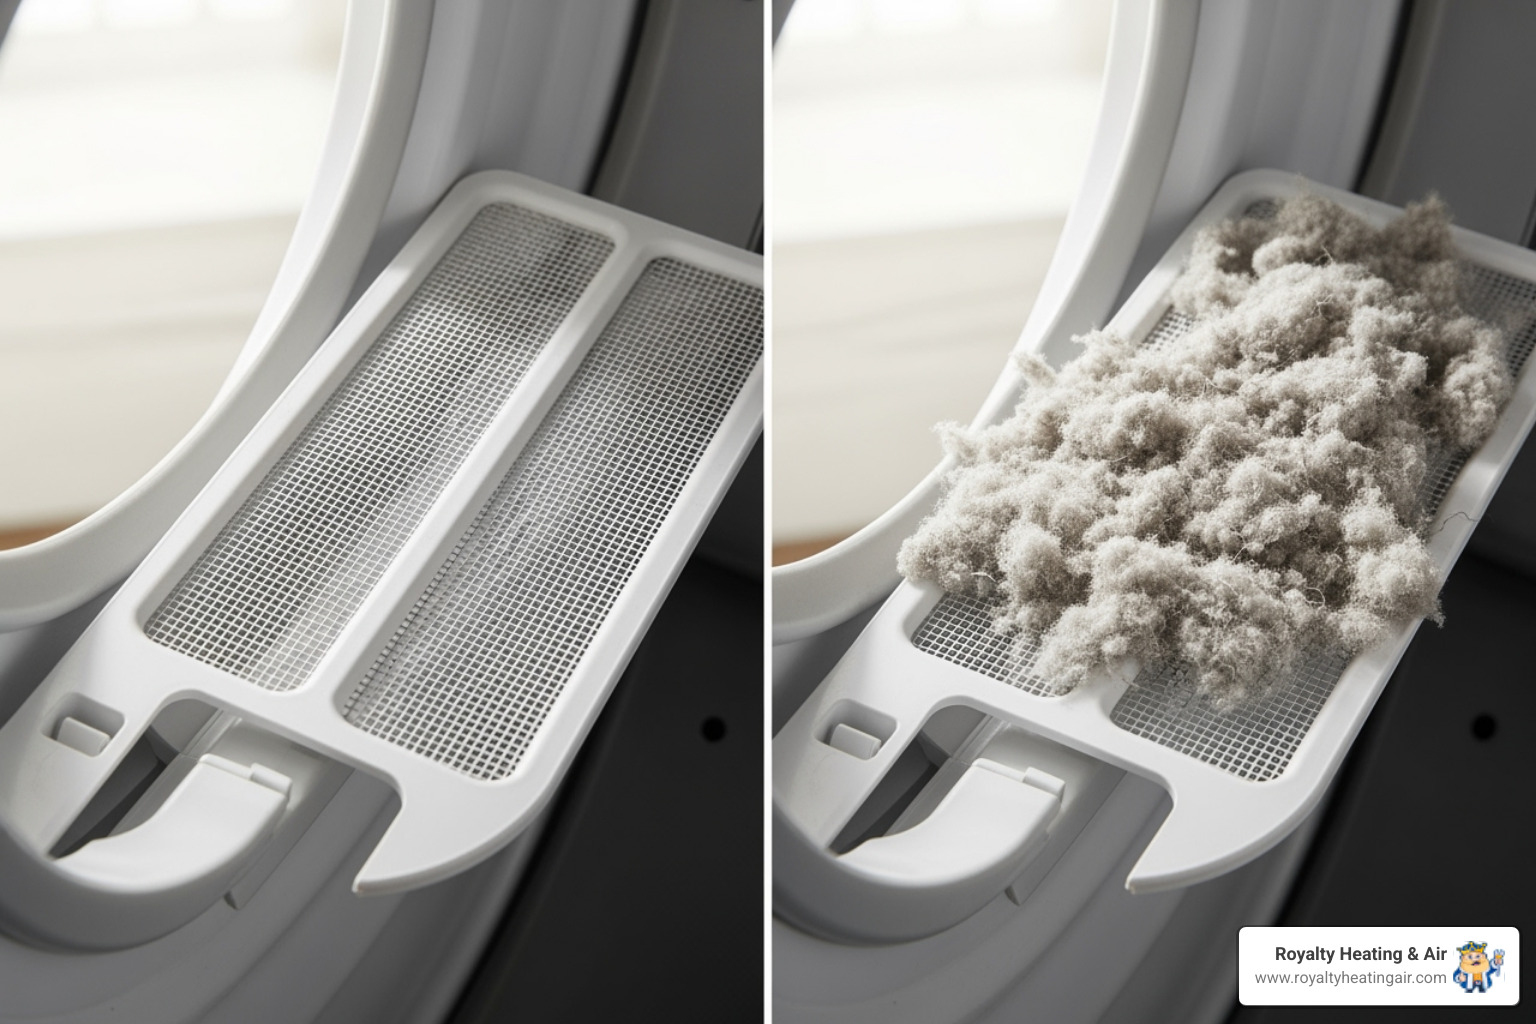
Pull out your lint screen and take a good look at it. Now comes the part that might surprise you - use your vacuum's hose attachment to clean deep into the lint trap housing. You'll be amazed at how much lint has been hiding down there, completely out of sight. Get all the way to the bottom if you can reach it.
Here's something many homeowners don't know: over time, dryer sheet residue can build up on your lint screen, creating a waxy film that blocks airflow. If your screen feels gummy or water doesn't flow through it easily, give it a good wash with warm, soapy water and a scrub brush. Make sure it's completely dry before putting it back - we don't want any moisture getting into your dryer.
Time to get behind your appliance and access the main event - the vent duct itself. This is where the real lint party has been happening.
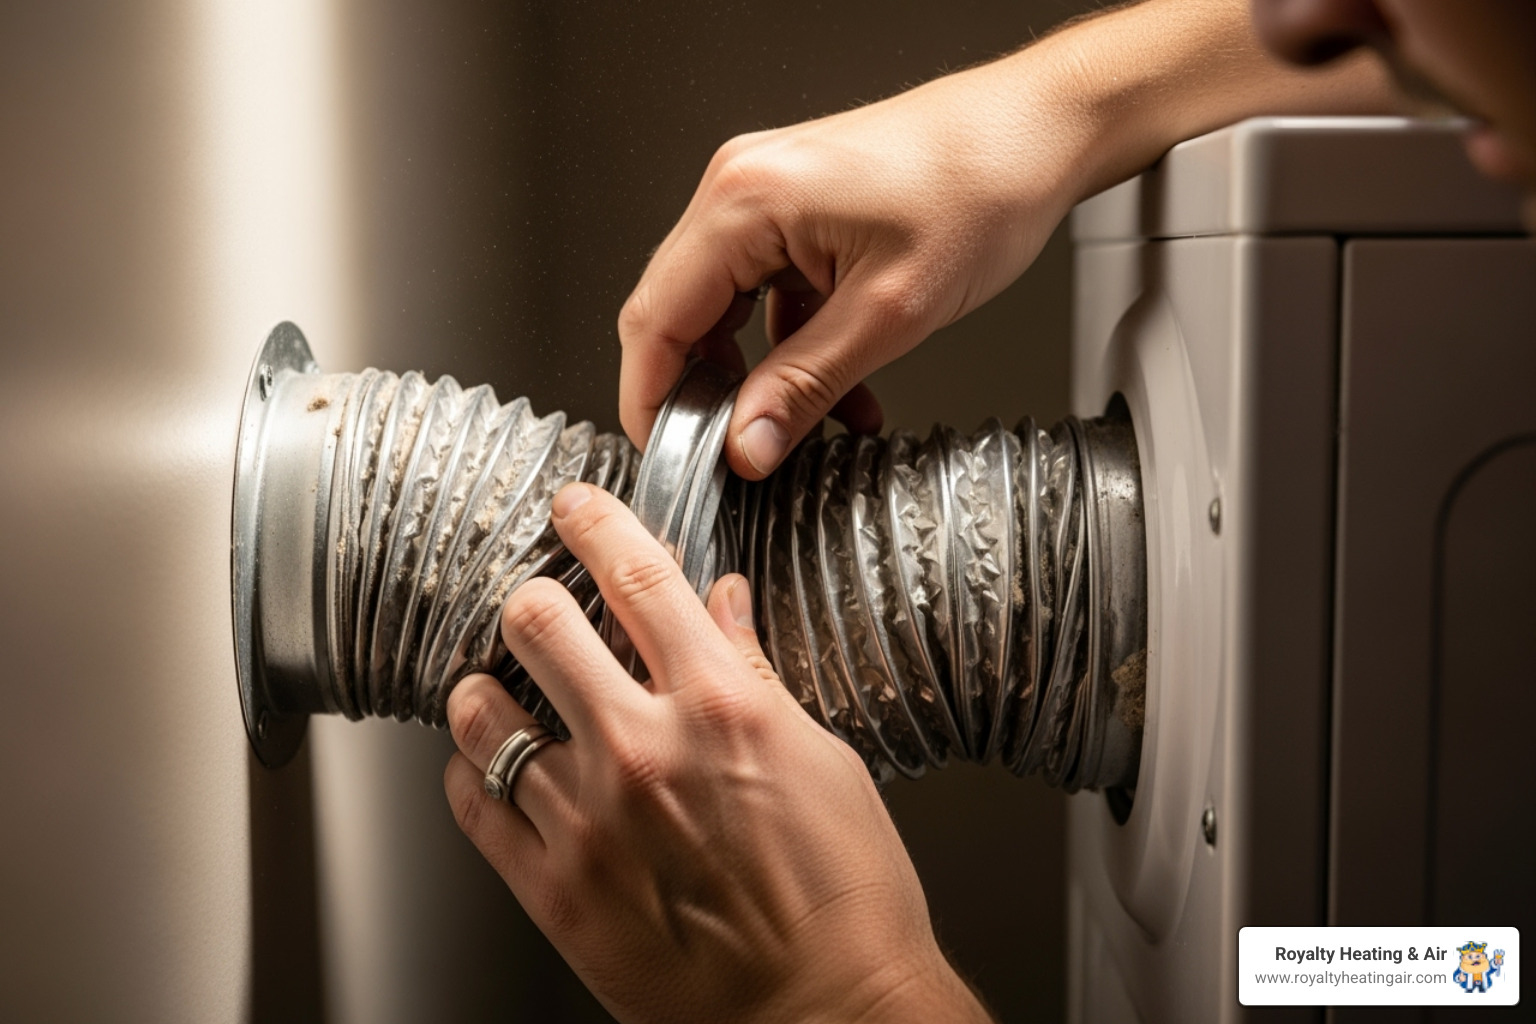
Gently pull your dryer away from the wall - you'll need a couple feet of working space. Once you can see behind it, locate the vent duct that connects your dryer to the wall or floor. This innocent-looking hose is the highway where all that lint has been traveling.
Most dryer vents are held in place with a metal clamp that you can loosen with your screwdriver. Take your time disconnecting the hose from both ends - the back of the dryer and the wall connection. Older hoses can be brittle, so handle them gently.
While you're here, take a moment to inspect the hose itself. If you spot an older plastic, vinyl, or accordion-style foil hose, consider this your opportunity to upgrade to a rigid metal duct. Your future self (and your insurance company) will thank you for the improved safety.
This is where the magic happens - the deep cleaning that will transform your dryer's performance and keep your home safe.
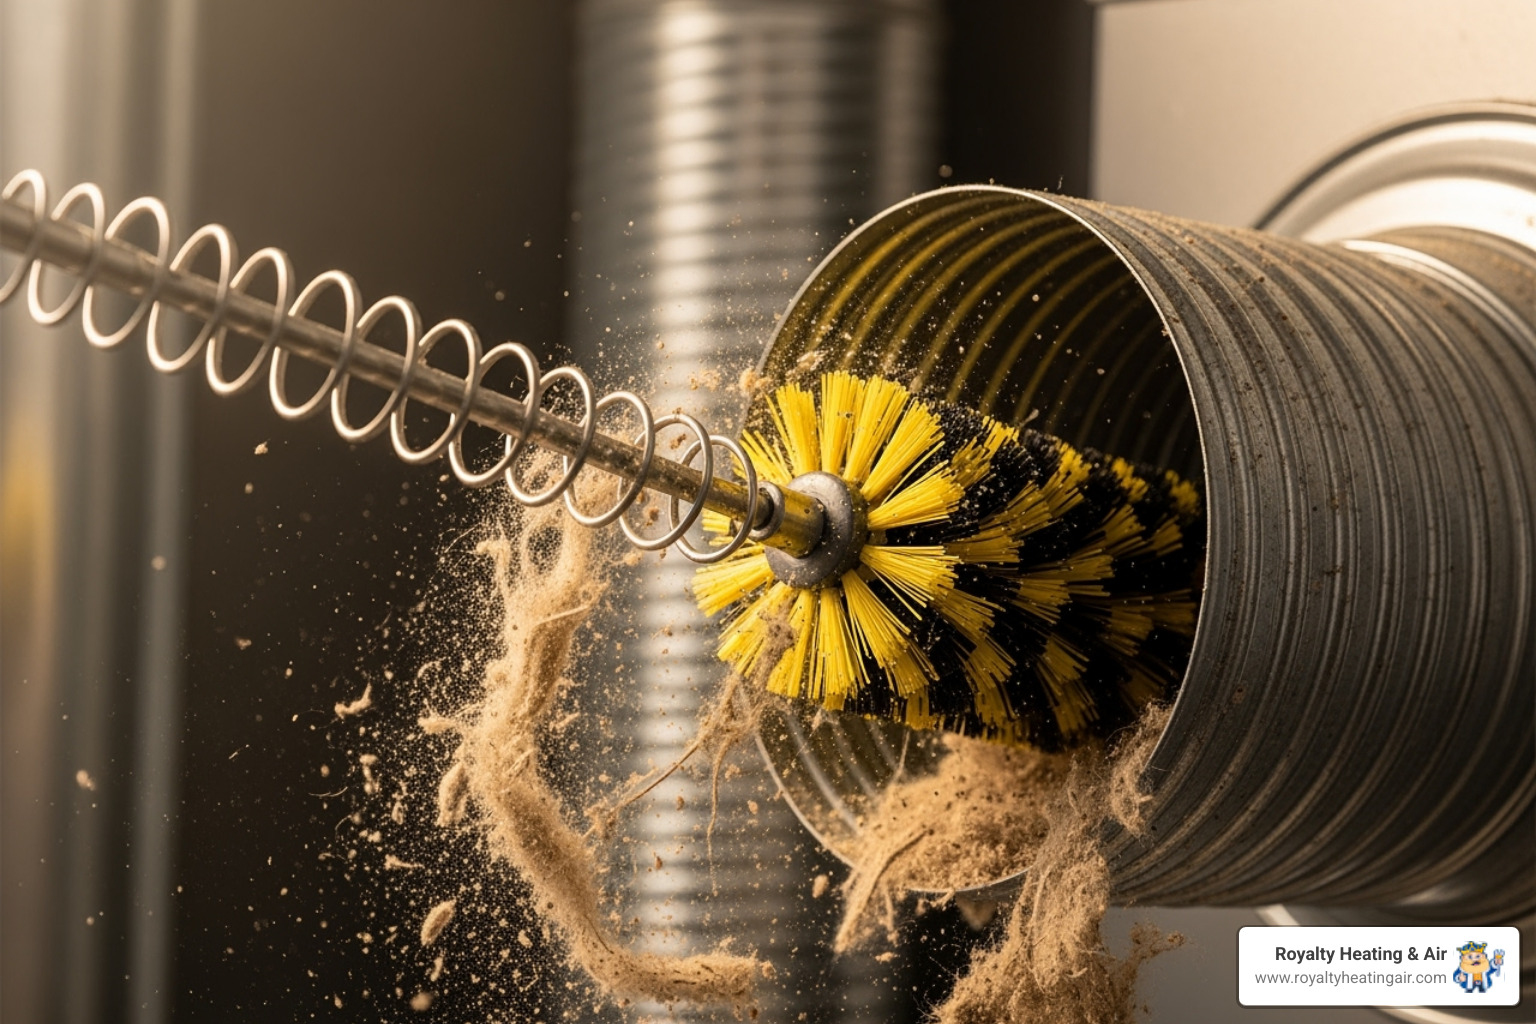
Start by vacuuming both openings - the exhaust port on your dryer and the wall opening where the vent was connected. You'll likely pull out an impressive amount of lint right here, and we're just getting started.
Now assemble your dryer vent brush kit by connecting the flexible rods to reach the full length of your vent. If your kit came with a drill attachment, you can use it on slow speed, but hand-powered cleaning works perfectly fine too.
Clean from inside first by feeding the brush into the vent opening at the back of your dryer. Push and pull gently while rotating the brush to knock lint loose from the duct walls. Work your way as far as the brush will reach.
Next, head outside to your exterior vent and clean from the outside in. This two-pronged approach ensures you're getting every bit of lint buildup. As you work, you'll see lint clumps falling out - collect these as you go. Don't be shocked if some of these clumps are surprisingly large!
While everything is disconnected, take a moment to inspect for damage. Look for cracks, holes, or crushed sections that could cause future problems. Damaged ducts don't just reduce efficiency - they can create hidden lint traps that defeat all your hard work.
We're in the home stretch! Now it's time to put everything back together and make sure your hard work paid off.
Reattach the ductwork carefully, making sure both connections - at the dryer and the wall - are snug and secure. Tighten those clamps with your screwdriver, and if you're replacing old duct tape, use metal foil tape designed for dryer vents.
Plug everything back in and turn your gas supply back on if applicable. Slide your dryer back into position, but don't push it tight against the wall just yet.
Here's the moment of truth - run a test cycle on air dry or fluff for about 15-20 minutes. While it's running, go outside and check your exterior vent. You should feel strong airflow pushing out, and the vent flap should open freely. If you feel that satisfying rush of air, congratulations - you've successfully completed your clean dryer vents project!
This test cycle also helps blow out any remaining small lint particles, giving your vent system a final clear-out. Once you're satisfied with the airflow, you can push your dryer back into its normal position.
Think of lint prevention like brushing your teeth – it's the small daily habits that prevent bigger problems down the road. While cleaning dryer vents thoroughly once a year is absolutely essential, smart prevention can keep your system running smoothly and safely between those deep cleans.
The golden rule? Clean your lint trap after every single load. Yes, every one. It might seem tedious when you're rushing to switch laundry, but this simple 10-second habit is your first line of defense against dangerous buildup. A clogged lint trap forces your dryer to work overtime from the very first minute of each cycle.
Here's something that might surprise you: the type of ductwork behind your dryer makes a huge difference in safety. If you're still using those flexible foil or plastic accordion-style vents, it's time for an upgrade. These flimsy materials are lint magnets – their ridged surfaces trap debris like a net, and they're not fire-resistant. Rigid metal ducting is the gold standard. It provides smooth airflow, resists kinks, and won't fuel a fire if things go wrong.
Your exterior vent deserves attention too. Make it part of your monthly home walkthrough – just like checking your mailbox or watering plants. The flap should swing open easily when you push it, and you shouldn't see any leaves, bird nests, or lint clumps blocking the opening. A quick peek can prevent major headaches later.
Don't forget the space behind your dryer itself. Lint has a sneaky way of escaping and building up back there, creating a fire hazard right in your laundry room. When you're doing your annual deep clean, take a few extra minutes to vacuum the floor and walls behind the unit.
Some fabrics are natural lint producers – think fluffy towels, cozy fleece, and brand-new clothes fresh from the store. Washing these items separately (and turning them inside-out) helps contain the lint instead of letting it spread to your entire load. Your dryer vent will thank you.
Here's a connection you might not have considered: your washing machine plays a role too. Built-up detergent and fabric softener residue can actually trap lint during the wash cycle, which then gets transferred to your dryer. A monthly vinegar rinse for your washer helps keep this lint transfer under control.
These prevention steps work hand-in-hand with the Importance of Routine Vent Cleaning to create a comprehensive safety strategy. Small efforts today mean safer, more efficient drying tomorrow – and a lot fewer worries about your family's safety.
We get a lot of questions from homeowners around Roseville, Loomis, Rocklin, Lincoln, and Granite Bay about clean dryer vents maintenance. Here are the answers to the most common concerns we hear:
The golden rule for most households is to clean dryer vents at least once a year. This annual cleaning keeps your family safe and your energy bills reasonable. But honestly, some homes need more attention than others.
If you're running loads constantly - maybe you have teenagers who seem to generate endless amounts of laundry - you'll want to bump that up to every six months. The same goes for pet owners. Those adorable furry family members shed like crazy, and all that pet hair creates extra buildup in your vents.
Large families and homes with high usage patterns simply accumulate lint faster. It's just math - more loads equals more lint. We've seen families who run their dryer three times a day find they need cleaning every six months to stay safe.
Don't forget about pet hair considerations either. Dog and cat hair doesn't just disappear - it travels through your entire laundry system and can create some serious blockages when combined with regular lint.
This is where we see a lot of homeowners make costly mistakes. The absolute best choice is rigid or semi-rigid metal ducts. Period.
Here's why metal wins every time: fire resistance is the big one. Those flimsy plastic, vinyl, or accordion-style foil hoses are basically fire hazards waiting to happen. Metal ducts won't catch fire and spread flames through your home.
You'll also get better airflow with metal. The smooth interior surface lets air move freely instead of catching lint in all those ridges that flexible hoses have. This means your clothes dry faster and your energy bills stay lower.
Avoiding plastic or foil accordion-style hoses isn't just our recommendation - it's a safety necessity. These materials are notorious for trapping lint in their ridged surfaces, and they can easily crush or kink, creating dangerous restrictions.
Trust us on this one - spending a little extra on proper metal ducting now can save you thousands in fire damage later. For more insights on maintaining safe venting systems, check out our guide on Local Dryer Vent Cleaning.
Sometimes DIY just isn't the right answer, and that's perfectly okay. There are several situations where calling in professionals like us makes more sense than wrestling with the problem yourself.
Very long vent runs are the biggest challenge. If your dryer vent snakes through multiple walls, up through floors, or has several sharp turns, you probably can't reach all the problem areas with standard homeowner tools. We have specialized equipment that can steer these complex systems.
Inaccessible vents are another common issue. Maybe your dryer is in a tight basement corner, or the exterior vent is three stories up. Don't risk injury trying to reach impossible spots.
If you suspect damage or blockages that you can't see or reach, professional assessment is crucial. We can use cameras and specialized tools to diagnose problems that aren't obvious from the outside.
Nests from pests require special handling. Birds love to build cozy homes in dryer vents, and removing these blockages properly requires experience. Plus, we can advise you on preventing future unwanted guests.
Here's the real test: if DIY cleaning doesn't improve performance, something bigger is going on. When you've done everything right but your dryer still takes forever or overheats, it's time for professional help.
We've seen homeowners spend hours struggling with problems that take us minutes to solve. Sometimes the smart move is knowing when to call for backup.
Learning how to clean dryer vents might seem like just another household chore, but it's actually one of the smartest things you can do for your family's safety and your wallet. Think about it - spending an hour once a year on this simple task can prevent devastating house fires, slash your energy bills, and keep your dryer running like new for years to come.
The facts speak for themselves: thousands of homes catch fire every year simply because someone skipped this basic maintenance. But now that you know the warning signs to watch for and have a step-by-step plan to tackle the job, you're equipped to protect what matters most.
Your dryer vent cleaning routine delivers three major wins: fire prevention that keeps your family safe, energy savings that show up in lower utility bills every month, and faster drying times that give you back precious hours in your week. That's a pretty impressive return on investment for such a straightforward DIY project.
Whether you're settling into your first home in Lincoln or you've been maintaining your property in Roseville, Loomis, Rocklin, or Granite Bay for decades, this knowledge puts you in control of an important safety issue. Make clean dryer vents a regular part of your home care routine, right alongside changing smoke detector batteries and cleaning gutters.
Of course, not every situation calls for the DIY approach. When you're dealing with complex vent systems, suspected damage, or you simply want the peace of mind that comes with professional expertise, that's where we come in. At Royalty Heating & Air, we understand that your home's air systems need specialized care to keep your family breathing easy and living safely.
For comprehensive ductwork and vent services that go beyond basic cleaning, explore our Air Duct Cleaning solutions. Because when it comes to your family's comfort and safety, you deserve nothing less than royal treatment.
