


Mini Split Installation in Stockton, CA
Bringing targeted comfort and energy efficiency to homes in Stockton, CA, ductless mini-split systems offer a flexible alternative to traditional ducted HVAC. Unlike central air systems that rely on extensive ductwork to distribute conditioned air throughout the entire house, mini-splits provide heating and cooling directly to specific zones or rooms. This makes them an ideal solution for additions, converted garages or attics, older homes without existing ductwork, or simply for homeowners looking for more granular control over their indoor climate.
The decision to install a mini-split system is often driven by a desire for improved comfort, lower energy bills, and greater control over individual room temperatures. In the varied climate of Stockton, where temperatures can fluctuate significantly throughout the year, having precise control over heating and cooling in different areas of the home can lead to substantial comfort improvements and energy savings compared to constantly conditioning unused spaces.
The process of installing a mini-split system is less invasive than installing or replacing a traditional ducted system, as it only requires a small conduit run through the wall to connect the outdoor unit to the indoor head. This allows for a relatively clean and efficient installation, minimizing disruption to your home.
Our approach to mini-split installation in Stockton is comprehensive, designed to ensure you receive a system that is perfectly matched to your specific needs and home layout. At Royalty Heating & Air, we focus on providing a seamless experience from the initial assessment through to the final testing and explanation of your new system.
The Mini Split Installation Process
A professional mini-split installation involves several key steps, each crucial for ensuring the system operates efficiently, reliably, and provides the intended level of comfort.
- Initial Consultation and Site Assessment: The process begins with a detailed assessment of your Stockton home. A trained technician will visit the property to discuss your specific heating and cooling needs, identify the areas you want to condition, and evaluate the best locations for both the indoor units (evaporators) and the outdoor condenser. This assessment considers factors such as room size, layout, insulation levels, window placement, and potential obstructions. Understanding how you use each space is vital to properly zone the home and determine where comfort is most needed. This initial step is fundamental to designing a system that will effectively meet your goals.
- System Design and Unit Selection: Based on the site assessment, the technician will design a system tailored to your home. This involves calculating the appropriate heating and cooling capacity needed for each zone (room) and selecting the correct size and number of indoor units. They will also determine the size of the outdoor condenser required to support the chosen indoor units. Mini-split systems come in various configurations, including single-zone (one outdoor unit paired with one indoor unit) and multi-zone (one outdoor unit supporting multiple indoor units). The design phase ensures the system is neither oversized nor undersized, which is critical for optimal performance, energy efficiency, and longevity. Proper sizing prevents short-cycling (system turning on and off too frequently), reduces humidity issues, and ensures the system can effectively handle the heating and cooling load of each zone.
- Planning and Preparation: Before the physical installation begins, the specific pathways for the refrigerant lines, communication wires, and condensate drain lines are mapped out. The locations for drilling holes through walls or ceilings are marked, and the necessary electrical considerations are reviewed. Any required permits for electrical work or HVAC installation will be addressed. The installation team will prepare the work area to protect your home and furnishings.
- Installing the Indoor Units: The indoor units, also known as air handlers or heads, are typically mounted high on a wall, near the ceiling, or sometimes on the floor, depending on the unit type selected. A mounting bracket is securely attached to the wall, and a small hole (usually around 2-3 inches in diameter) is drilled through the wall behind the unit. This hole allows the conduit, containing the refrigerant lines, communication wire, and condensate drain line, to pass from the indoor unit to the outside.
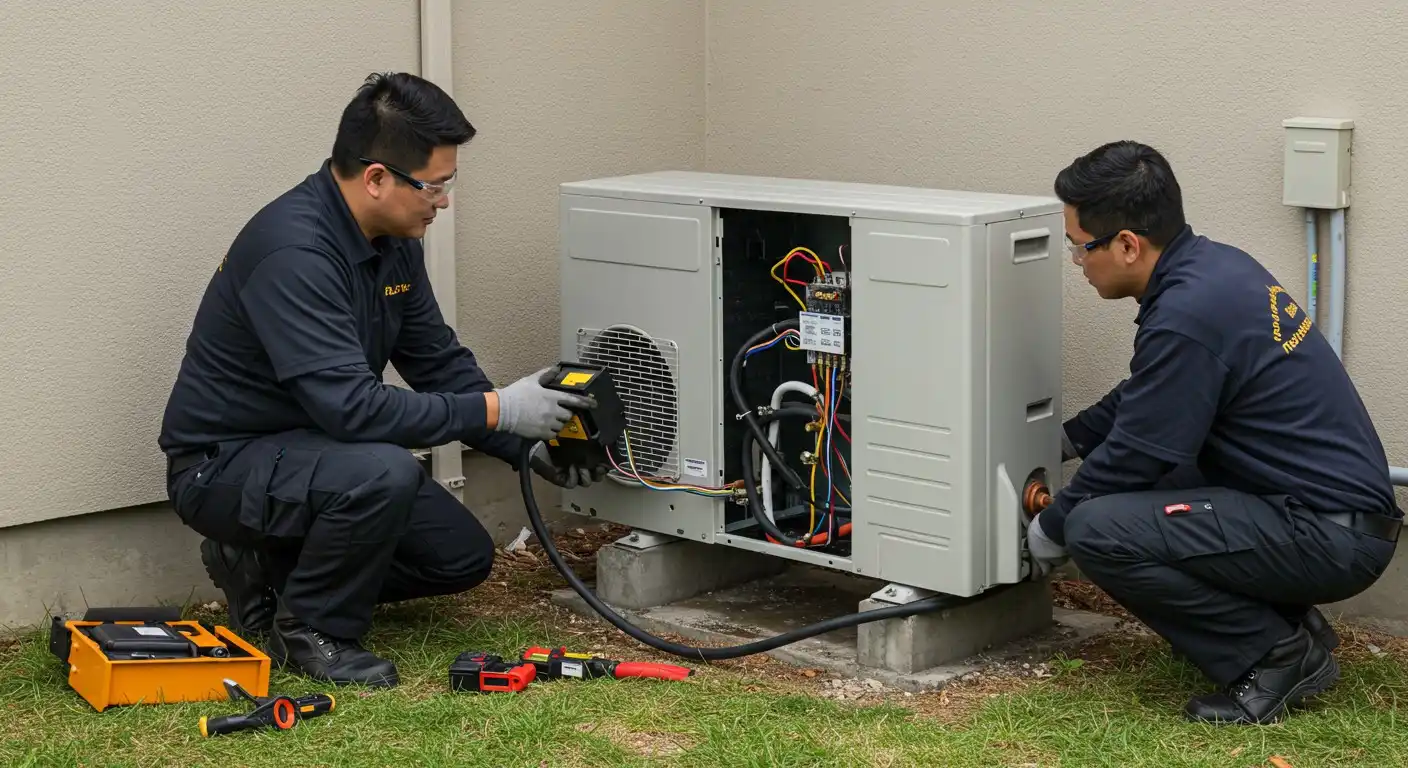
- Installing the Outdoor Condenser: The outdoor condenser unit is usually placed on a level surface, such as a concrete pad or specialized mounting brackets, located away from obstructions and where there is adequate airflow. Proximity to the indoor units is considered to minimize the length of the line sets. The unit must be securely fastened and positioned according to manufacturer specifications to ensure proper operation and drainage.
- Connecting the Line Sets: This is a critical step requiring specialized tools and expertise. The refrigerant lines, communication wires, and condensate drain lines (collectively known as the line set) are run from the outdoor condenser through the wall conduit to connect to the indoor units. Proper insulation of the refrigerant lines is essential to prevent energy loss. Connections are made using specialized fittings that must be tightened correctly to prevent refrigerant leaks.
- Making Electrical Connections: Dedicated electrical circuits are typically required for mini-split systems, both for the indoor and outdoor units. A qualified electrician ensures that the system is properly wired and connected to your home's electrical panel according to local codes and manufacturer specifications. The communication wire allows the indoor and outdoor units to interact and manage system operation.
- Vacuuming and Charging: Once all connections are made, the refrigerant lines are evacuated using a vacuum pump. This process removes all air and moisture from the lines, which is crucial for the system's efficiency and longevity. Air and moisture can cause significant damage and performance issues. After evacuation, the system is charged with the correct type and amount of refrigerant as specified by the manufacturer.
- Testing and Commissioning: The system is powered on and thoroughly tested to ensure all components are functioning correctly. The technician will check for proper cooling and heating operation, verify airflow, listen for unusual noises, and check for any potential leaks. The system's performance in each zone is monitored.
- Cleanup and Client Education: After verifying the system is working perfectly, the installation team will clean up the work area, removing all debris and packaging. Finally, the technician will walk you through the operation of your new mini-split system, explaining how to use the remote control or thermostat, set different modes (heating, cooling, fan, dry), understand any error codes, and provide basic maintenance tips. This ensures you are comfortable and confident in operating your new system.
Why Choose Royalty Heating & Air for Your Stockton Mini Split Installation?
Selecting the right team for your mini-split installation in Stockton is just as important as choosing the right system. Our experience in handling various Air Conditioning and Heating solutions extends specifically to the nuanced requirements of ductless systems. We understand the local climate and typical home constructions in Stockton, allowing us to provide tailored recommendations and expert installation.
At Royalty Heating & Air, we recognize that investing in a mini-split system is a significant decision aimed at enhancing your home's comfort and efficiency. Our technicians are highly trained in the specific techniques required for accurate and secure mini-split installation, ensuring refrigerant lines are properly connected, electrical work is safely performed, and units are correctly sized and positioned for optimal performance.
Invest in Comfort: Quality Mini-Split Installation Services
The benefits of a properly installed mini-split system are numerous. You gain the ability to create independent temperature zones, allowing family members to customize the climate in their own rooms without affecting others. This zoning capability often leads to significant energy savings, as you only condition the spaces being used. Mini-splits also provide powerful Ductless Heating and cooling, offering consistent temperatures and rapid response.
Our commitment to quality means we don't cut corners during the installation process. From the initial site evaluation to the final system testing and cleanup, we adhere to best practices and manufacturer guidelines to ensure your new system is installed right the first time. Should you ever need assistance with your mini-split in the future, we also offer services like Ductless AC Repair and Mini Split AC Repair to keep your system running smoothly.
Installing a mini-split system in your Stockton home is an investment in future comfort and energy efficiency. Our expertise ensures that this investment pays off with a reliable, high-performing system that provides tailored climate control precisely where you need it. At Royalty Heating & Air, we aim to make the installation process as smooth and stress-free as possible, delivering the targeted comfort and control that only a ductless system can provide.
Experience Precision Comfort with Mini Split Installation Today
Ready to experience customized comfort and energy savings with a professional mini split installation in Stockton, CA? Let Royalty Heating & Air help you take control of your home’s climate with expert system design and flawless installation. Whether you’re upgrading an existing setup or adding targeted heating and cooling to new spaces, our certified technicians ensure your mini-split operates efficiently and reliably from day one. Don’t wait to improve your indoor comfort—contact us today to schedule your mini split consultation and discover how ductless technology can transform your home.
Protect your HVAC
system today

Get in Touch
services? Contact us!

